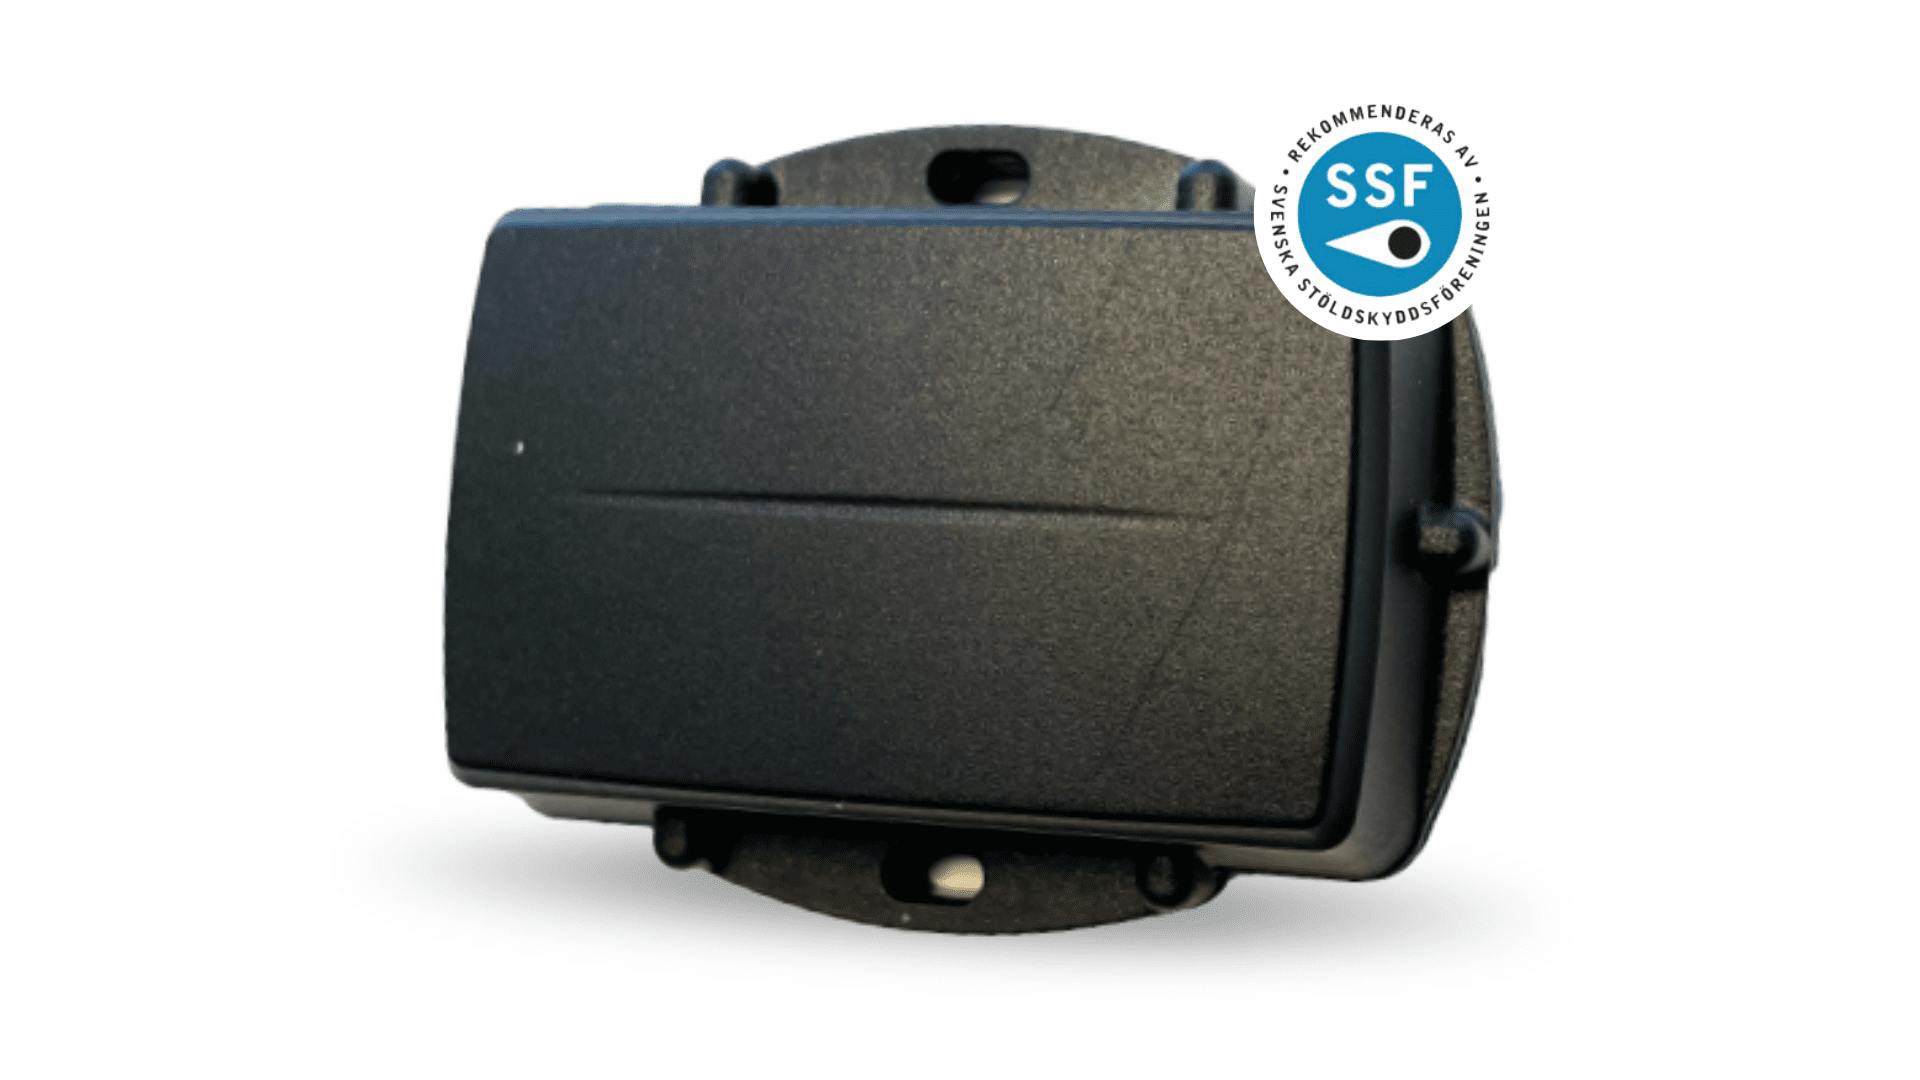
Quick guide
Here is a step-by-step guide on how to set up your new NorthTracker Scout 2.0:
First, download the app.
Then register your account.
Start up the device.
Place the device.
Create a security zone.
You’re all set!
Extra tips
You can add more users so that multiple people can share the account and use the features.
Create additional alarm recipients so alerts are sent to more people. You can add both account users and people who are not on the account – simply enter their email address and phone number.
Add an object description to make it easier for police or insurance companies to identify the device.
If you have any questions, please contact NorthTracker Support.
2. Register an account
Click “Register here”
Select “Company” or “Private”
Choose country
Scan the IMEI number (found on the back of the device)
Enter where you purchased the device
Enter your company name (only if you selected Company above)
Enter your first and last name
Enter your email address
Enter your personal identity number (12 digits) / company registration number
Enter your address details
Enter your phone number
Create a password
Choose paper invoice or digital invoice (private customers only)
Verify that your details are correct
Read and accept the terms and conditions
Done
3. Start the device
Insert the batteries.
Place your Scout under open sky or in a window with a clear view to ensure the best possible GPS reception.
Check in the app or on the web that the device has connected before installing it.
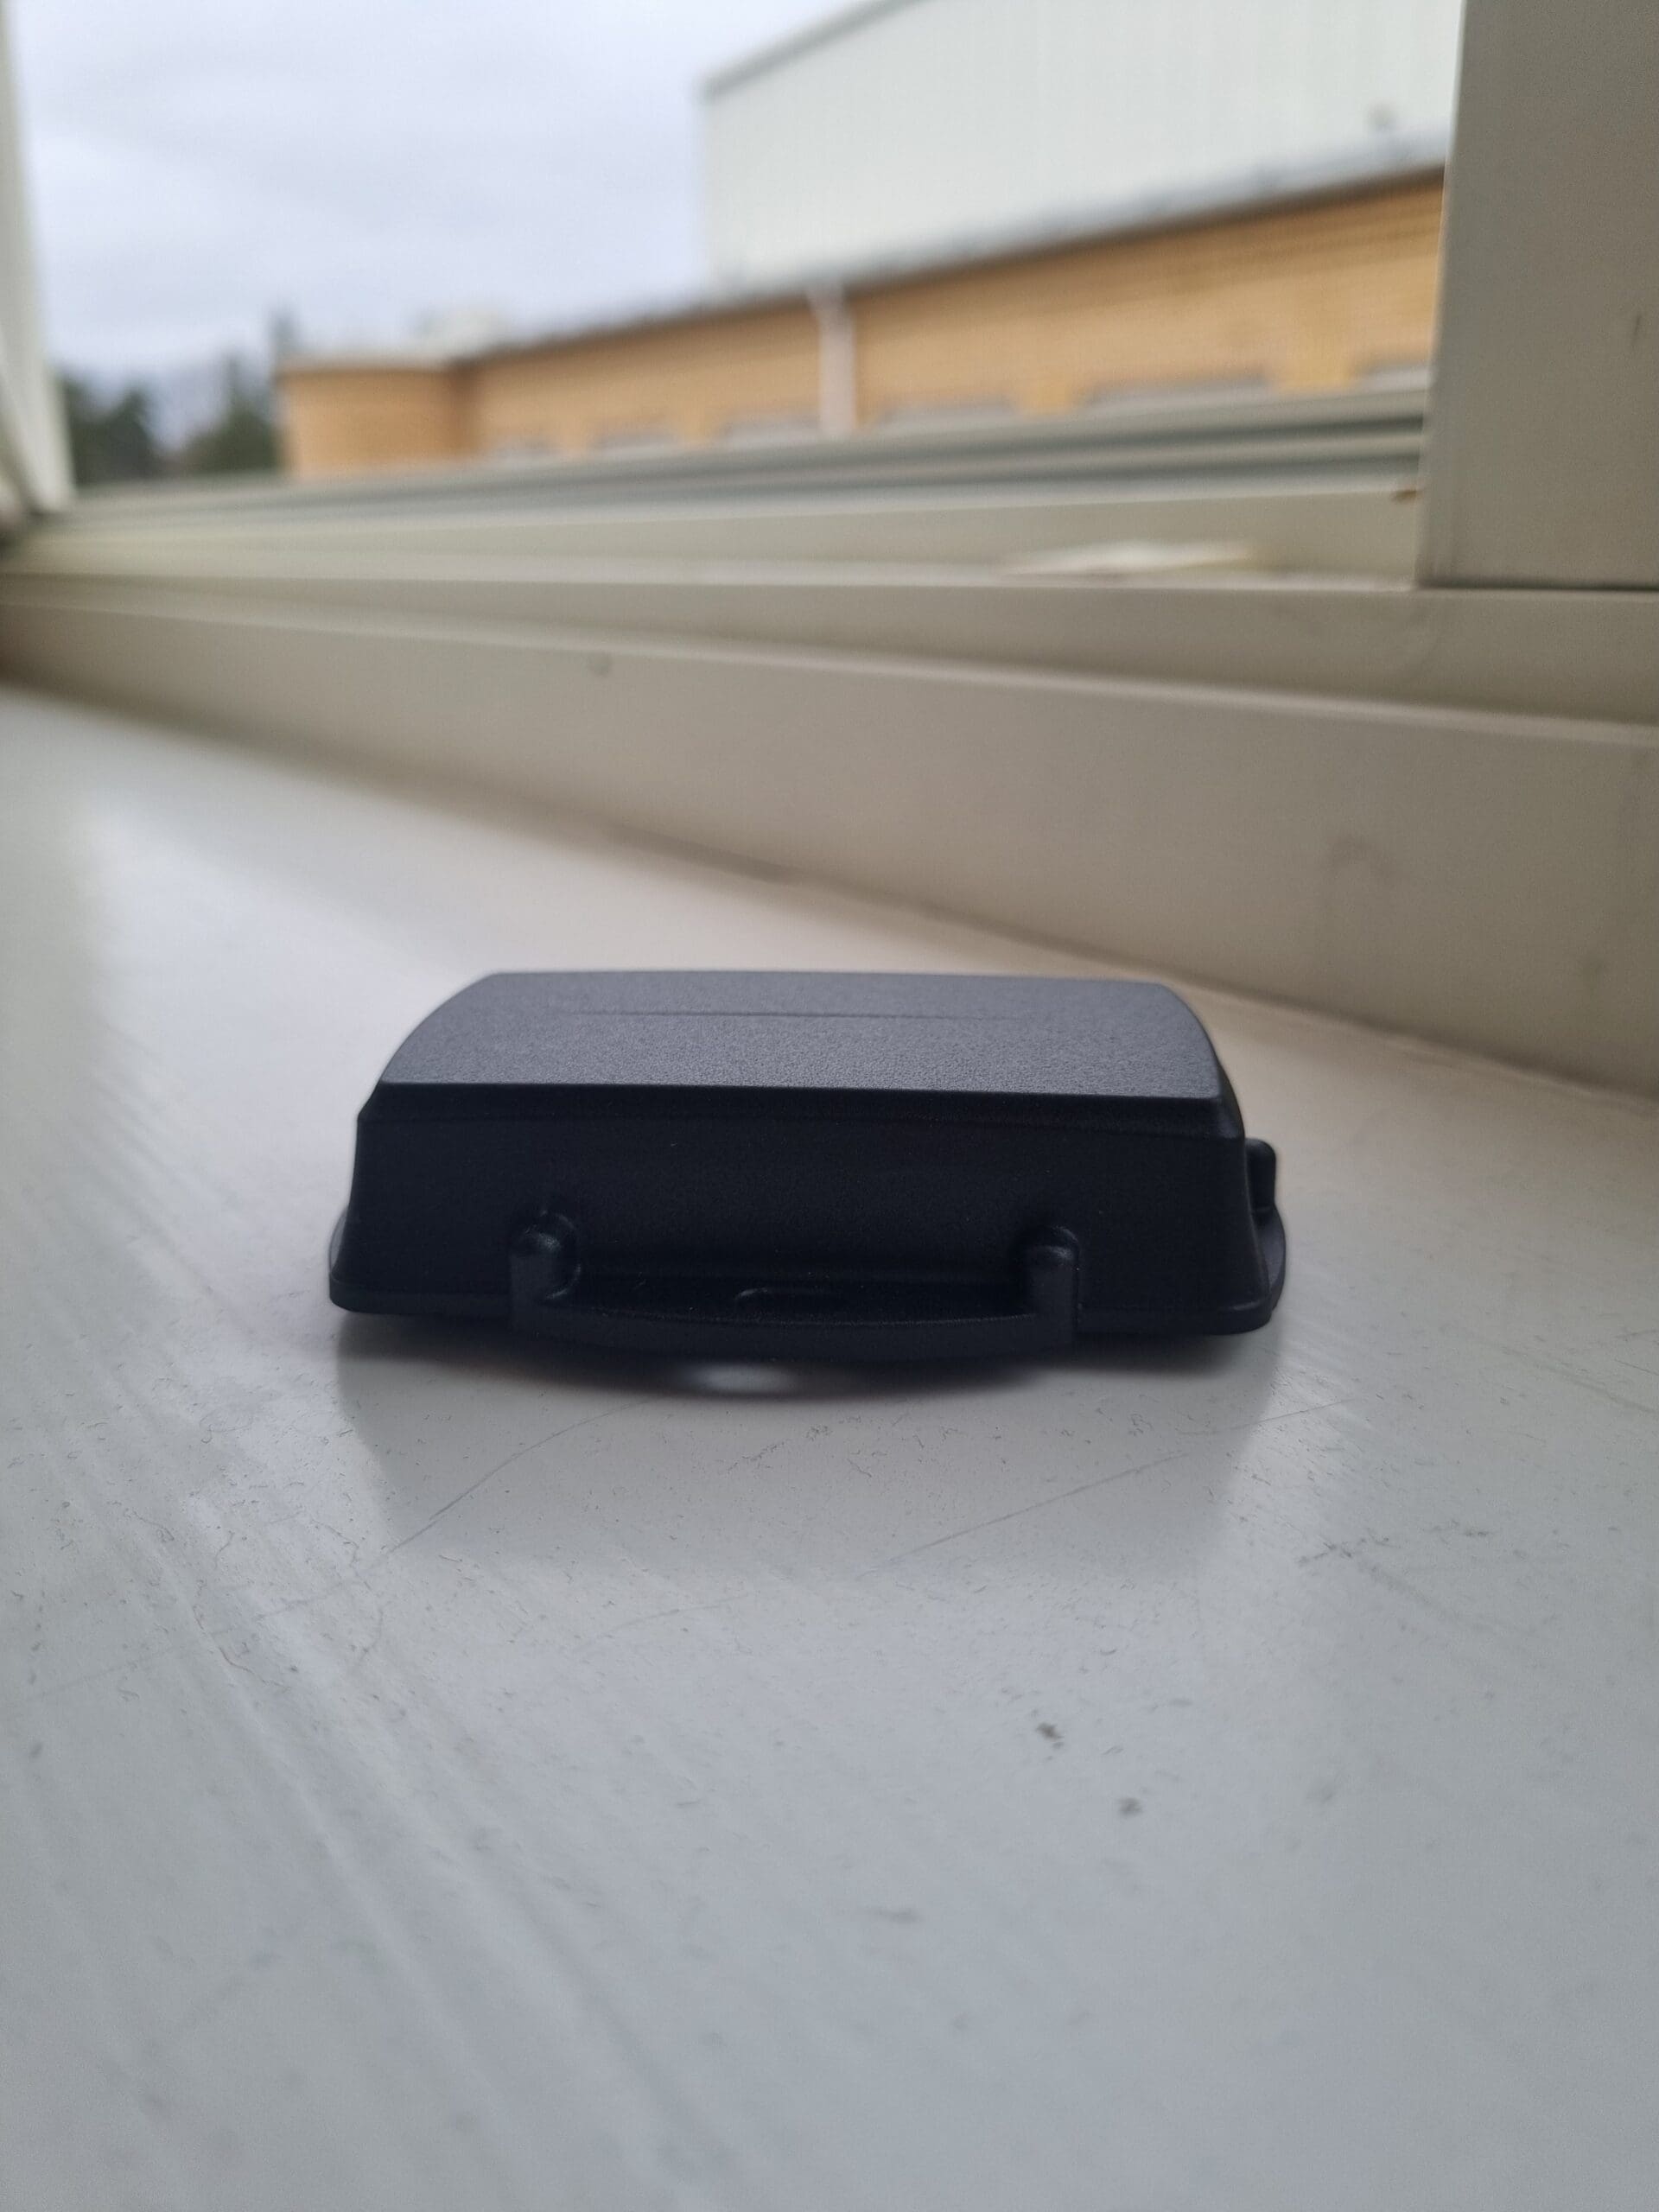
4. Place the device
Place and hide the device securely so it is not easily found. Keep in mind that the tracker needs contact with GPS satellites, so avoid placing it under metal, carbon fiber, or other materials that may interfere with the signal.
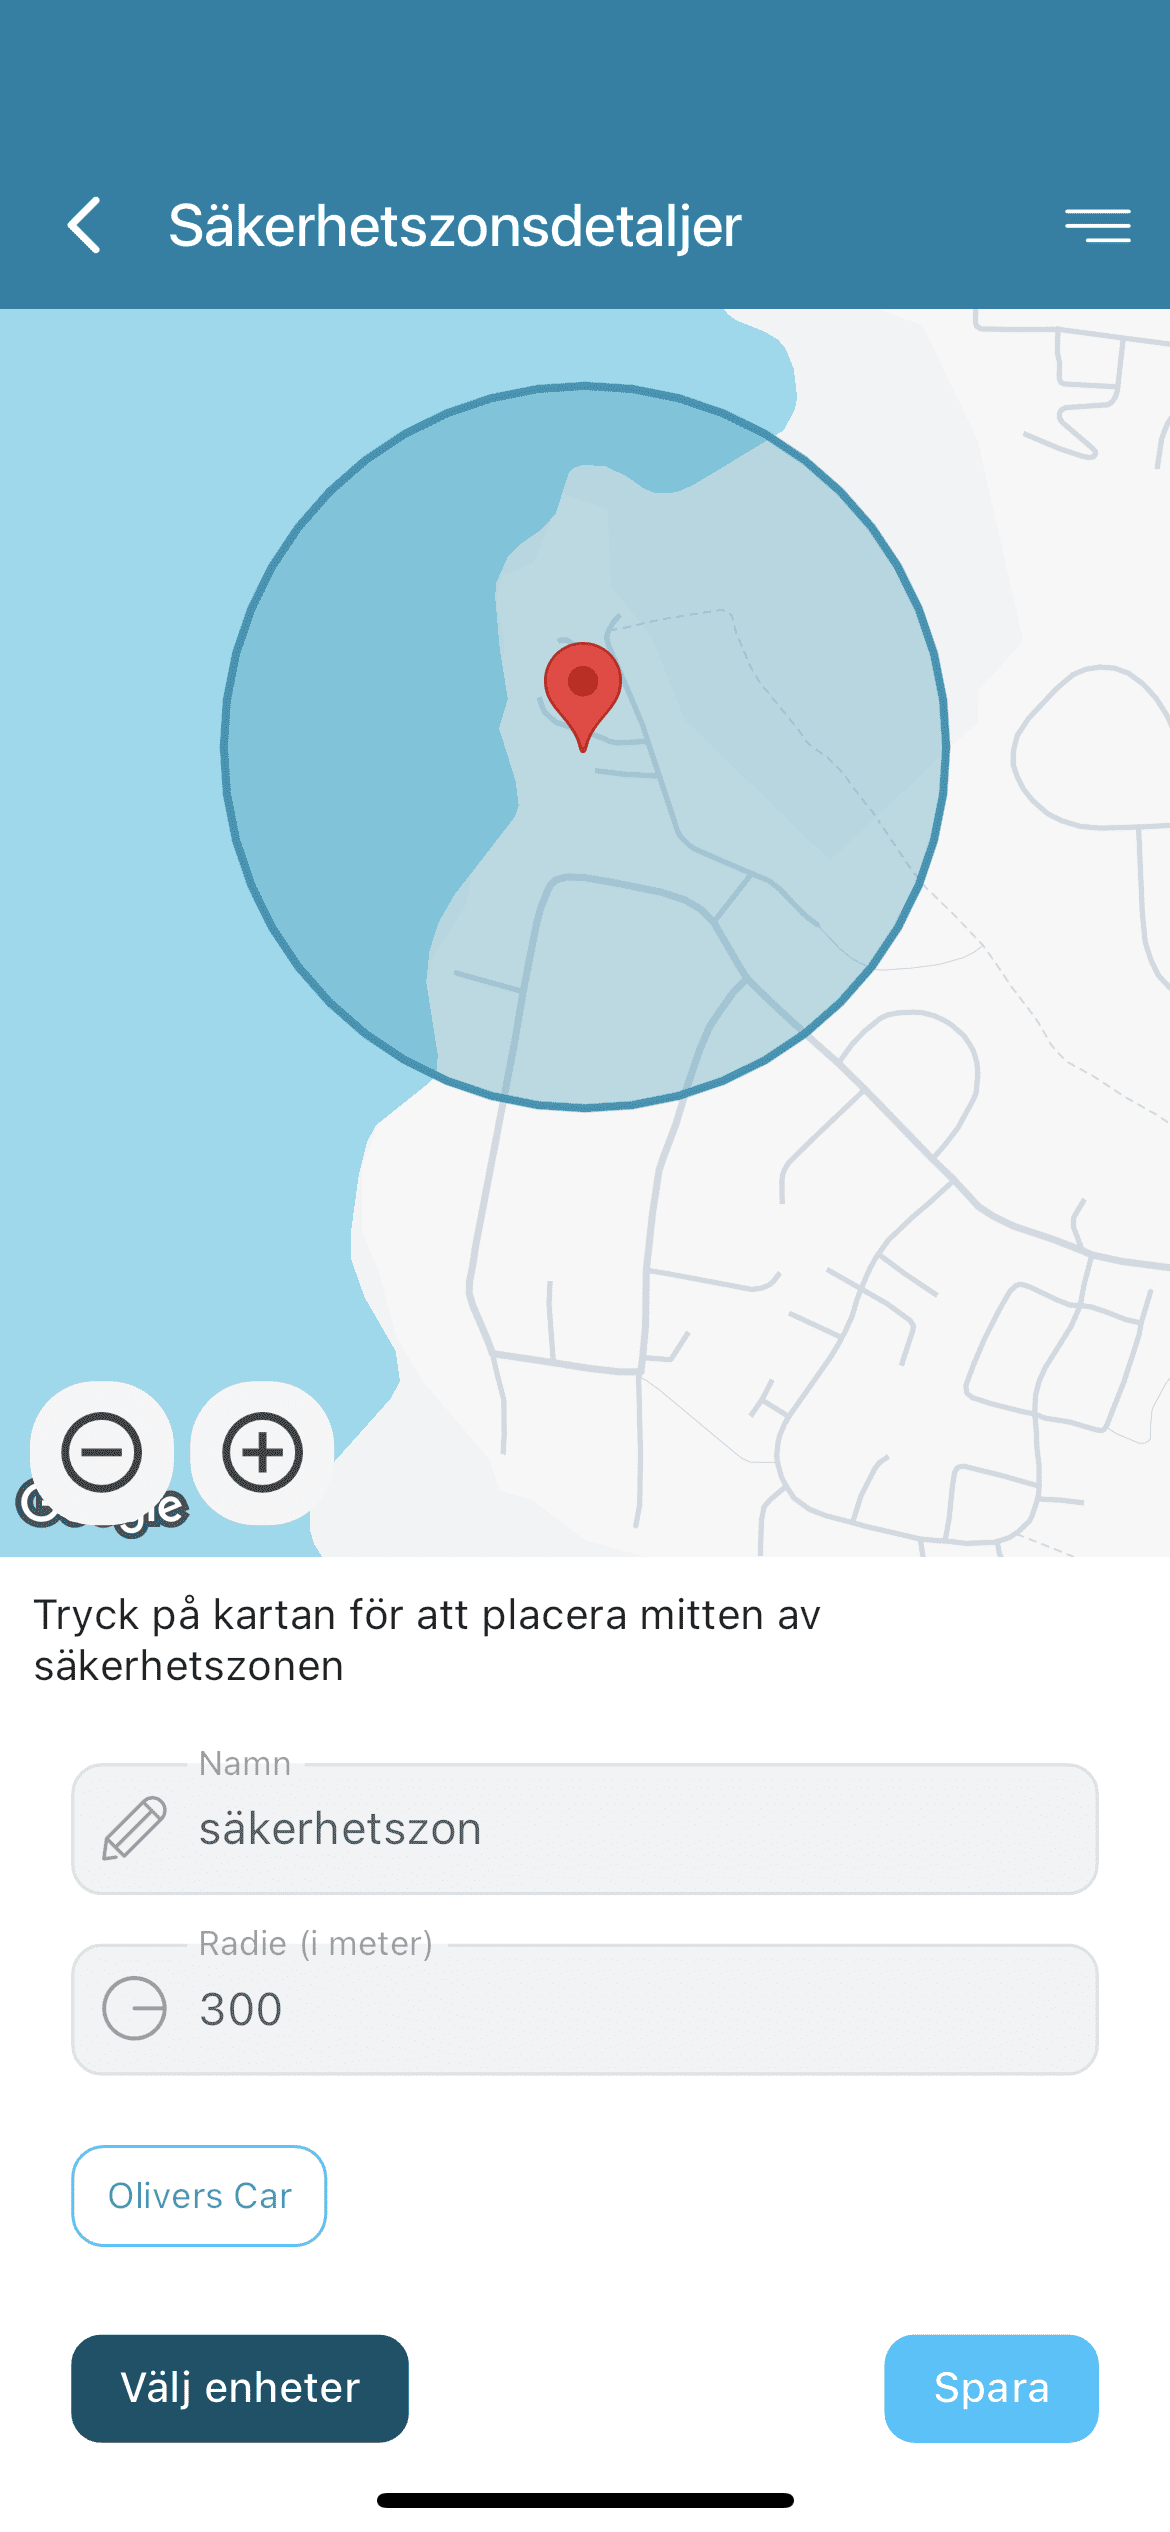
5. Create a security zone / geofence
Click the menu in the top right corner.
Select “Security zone.”
Click + in the top right corner.
Select the area where the tracker will be located.
Name your security zone.
Set the radius of the security zone (minimum 300 m).
Save.
Done.
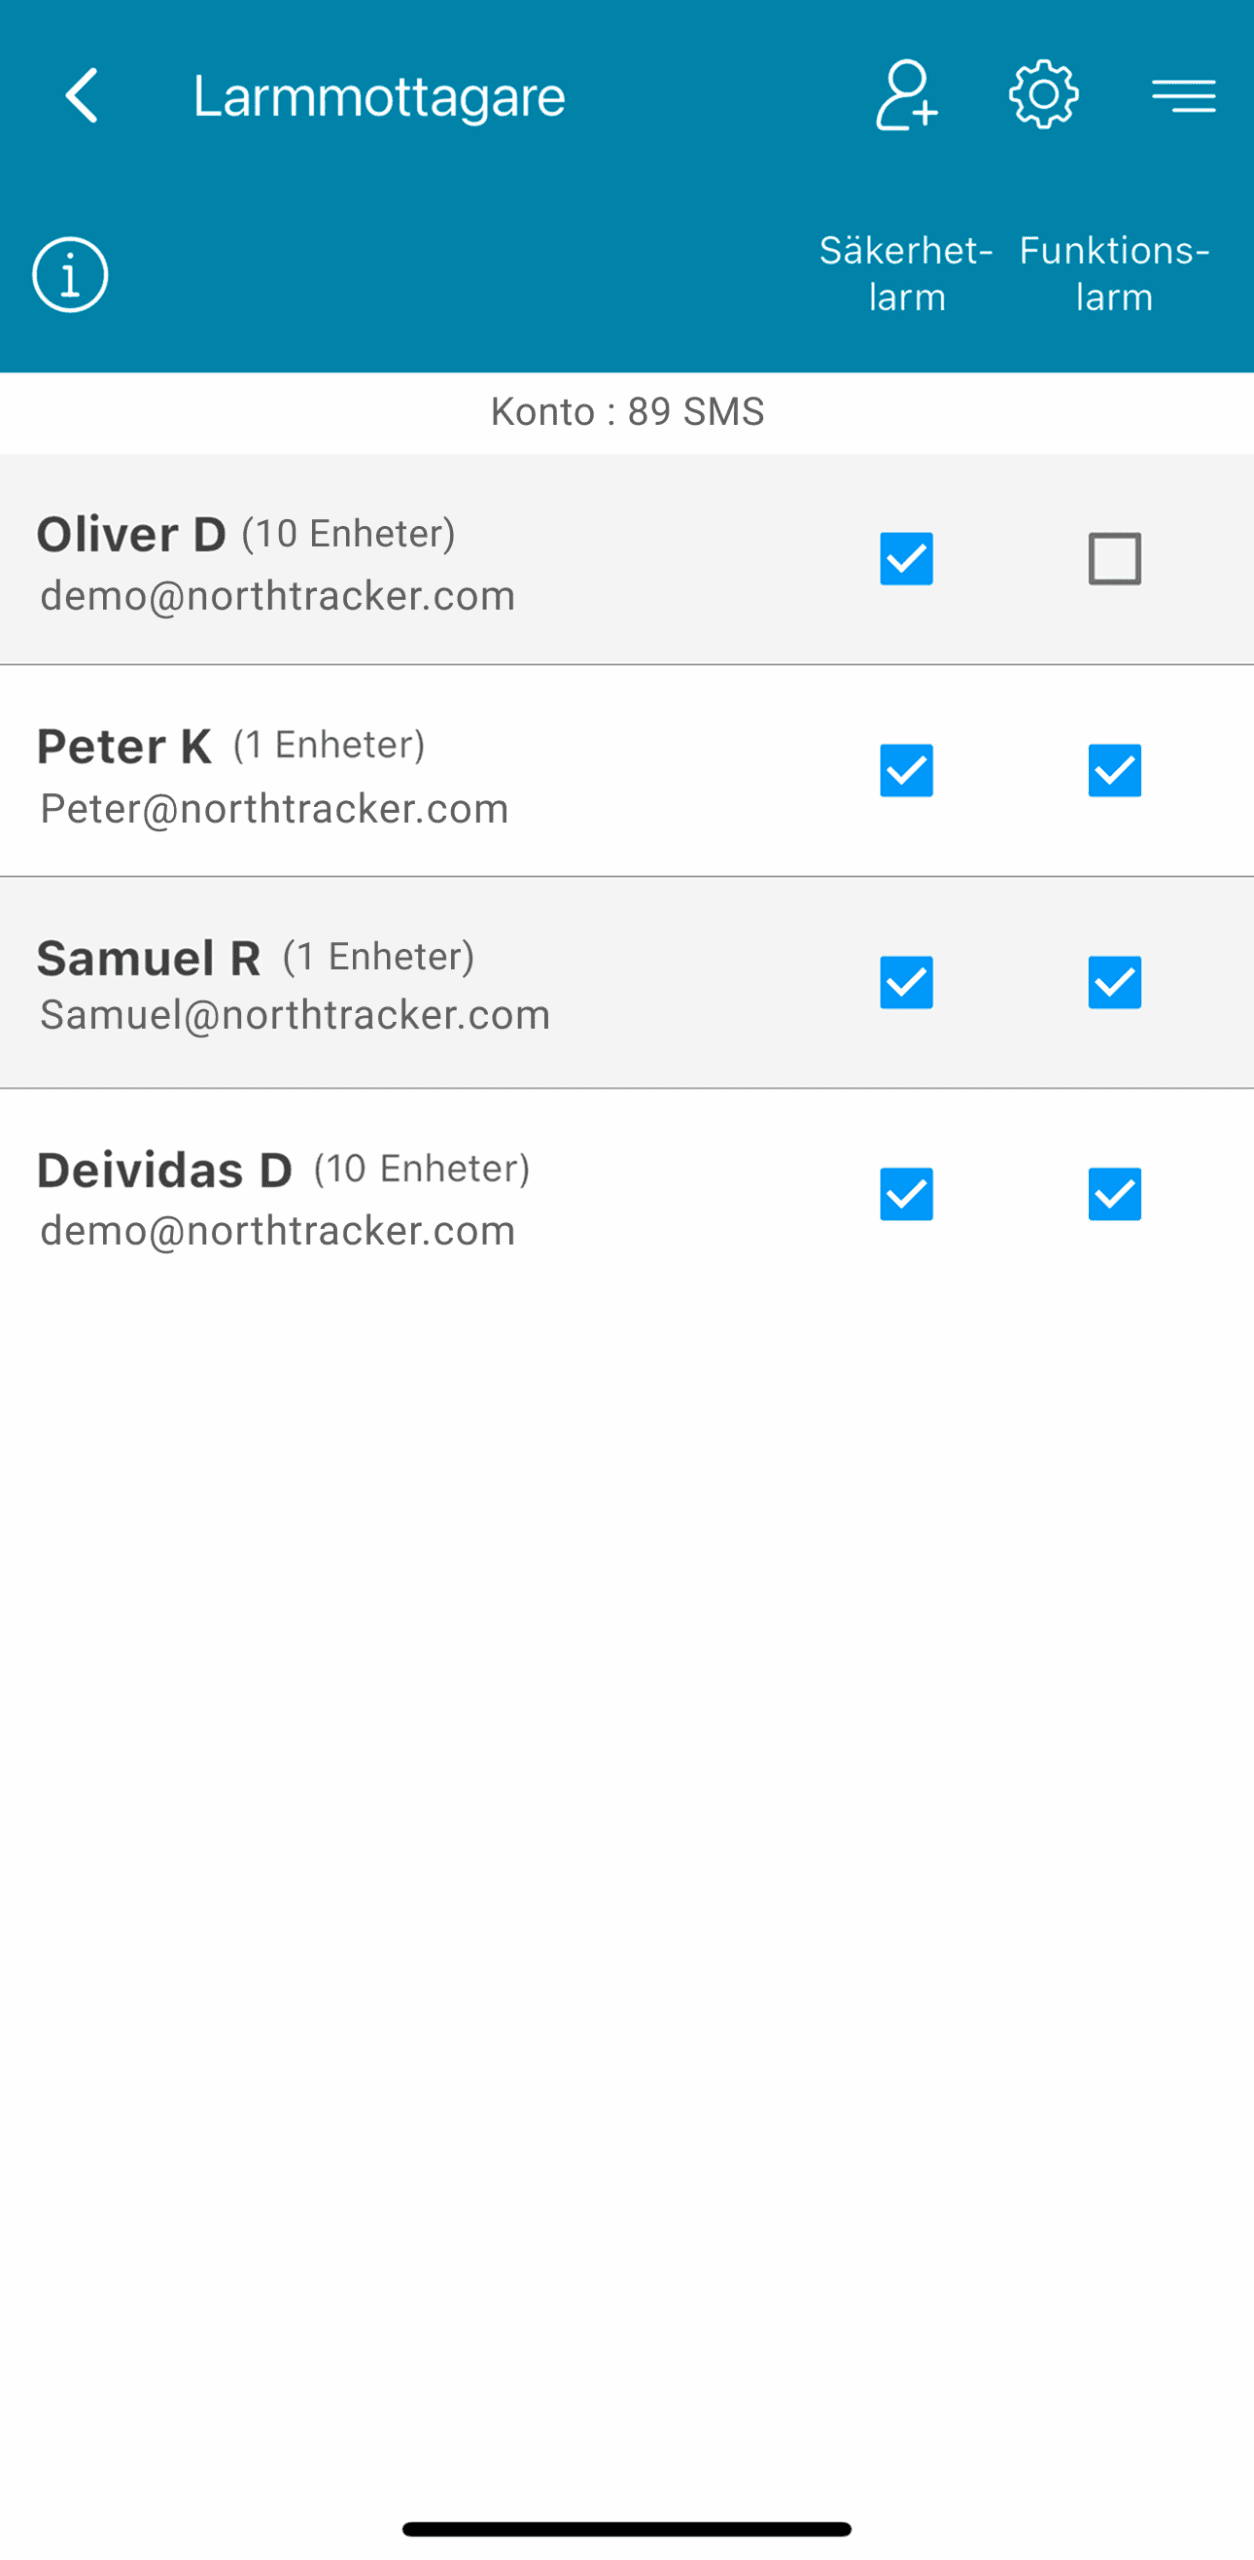
Optional 1: Create additional alarm recipients
Click the menu in the top right corner.
Select “Alarm recipients.”
Click + in the top right corner.
Select an existing user or create a new alarm recipient.
Choose where alarms should be sent (email/phone number; push notifications can only be sent to existing users).
Select which alarms should be sent (Security alarms / Function alarms).
Save.
Swipe left and select which devices the recipient should receive alarms from.
Save.
Done.
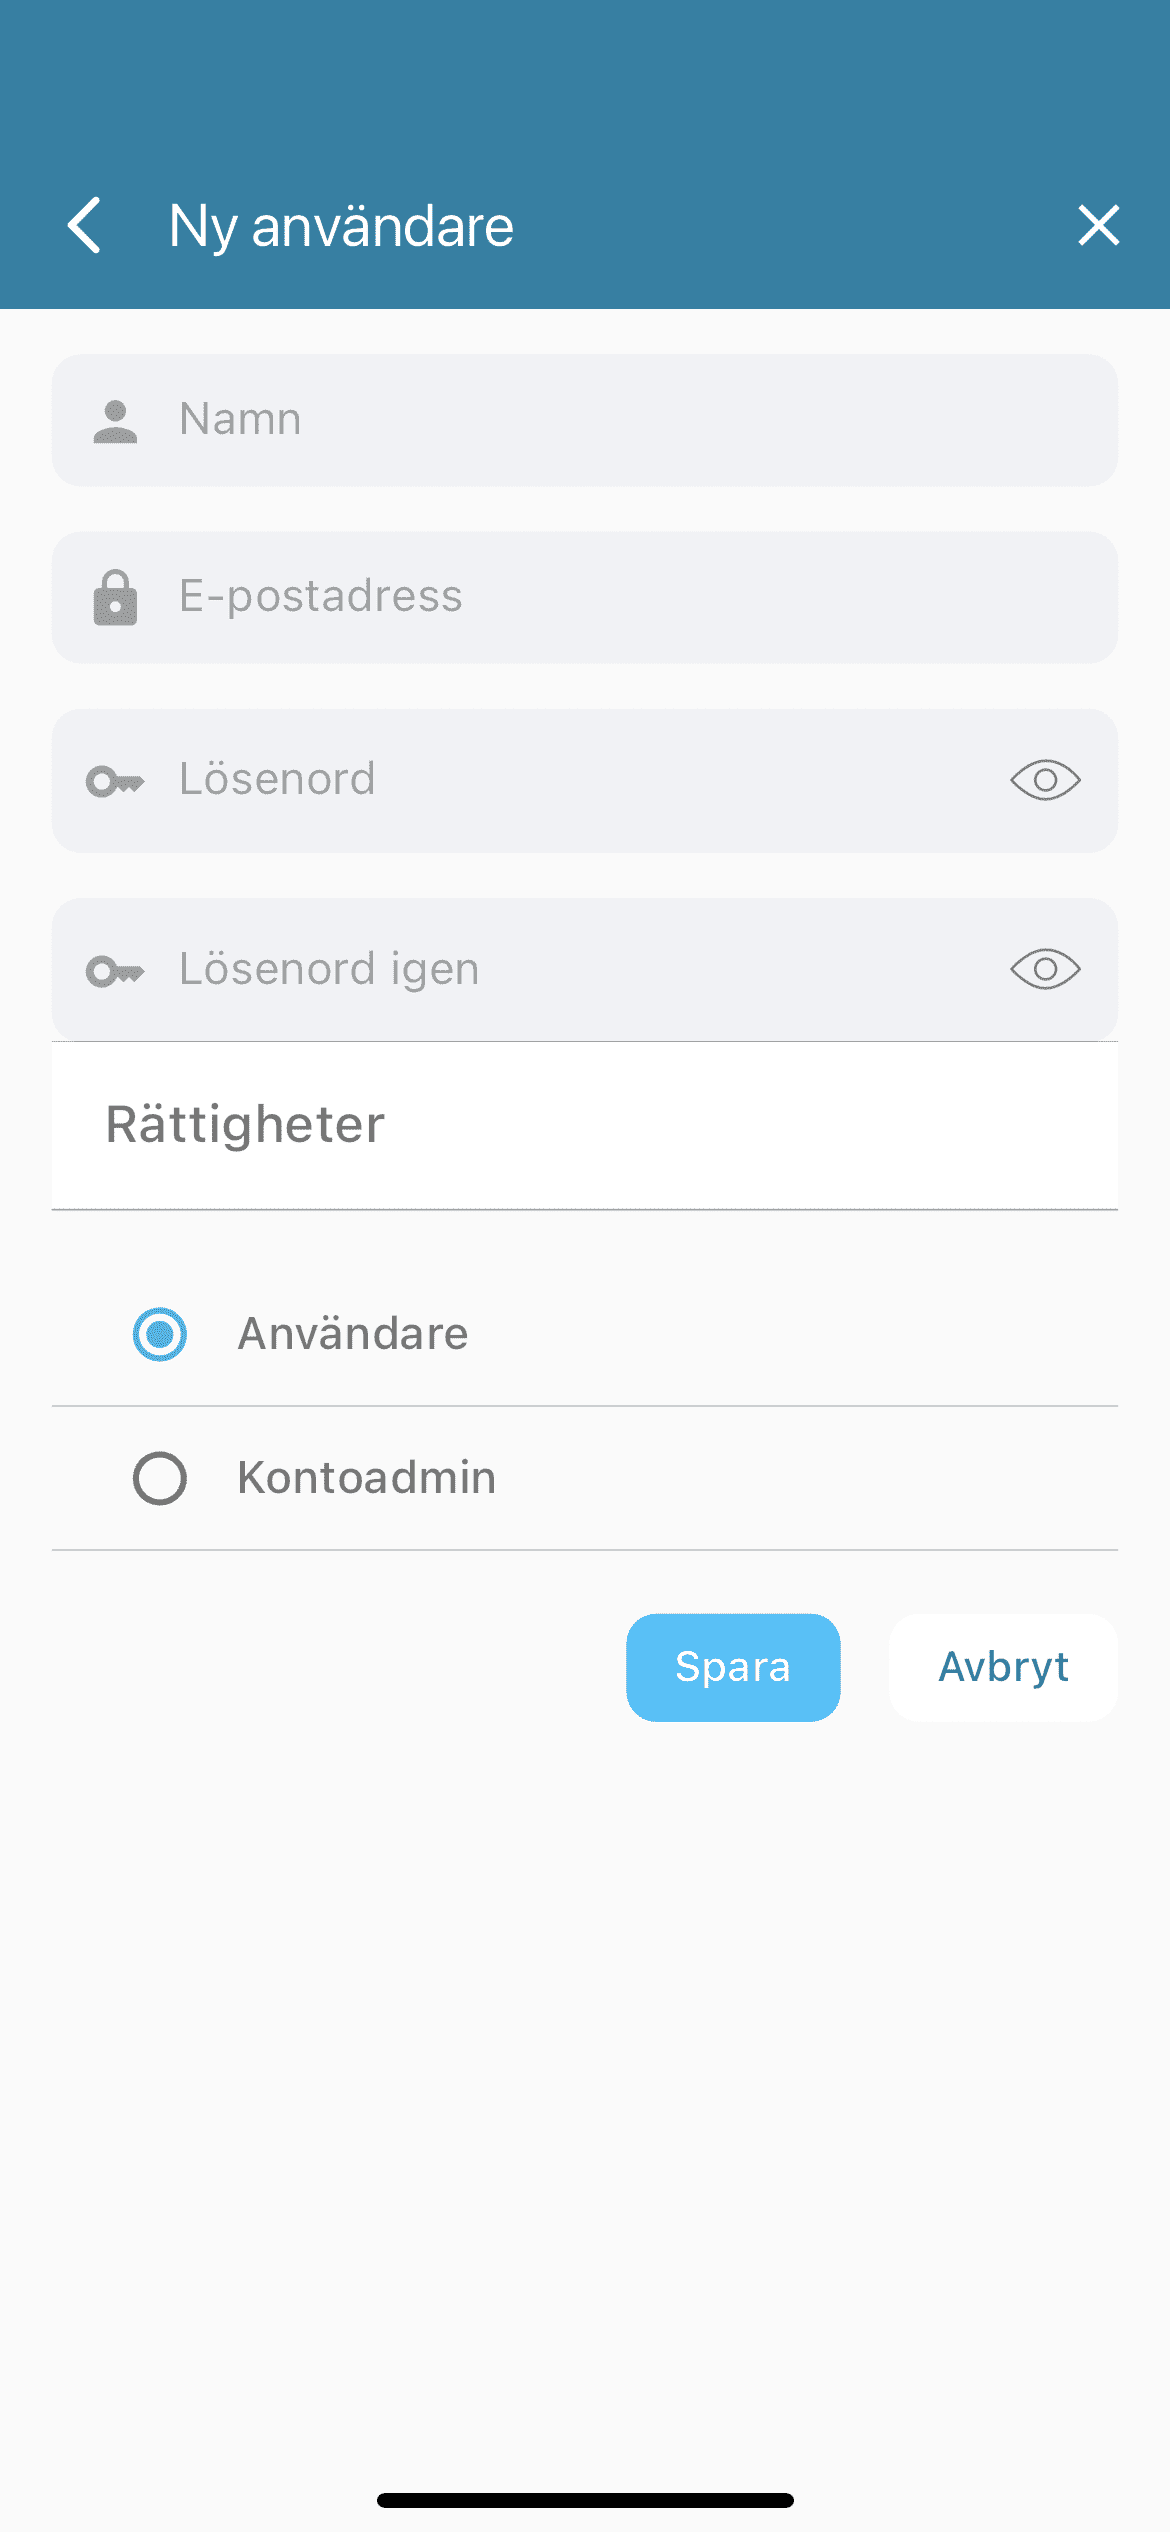
Optional 2: Add more users
Click the menu in the top right corner.
Select “Account.”
Click the user icon with the plus sign in the top right corner.
Enter contact details and set permissions.
Save.
Swipe the user to the left to edit device permissions.
Select devices.
Save.
Done.
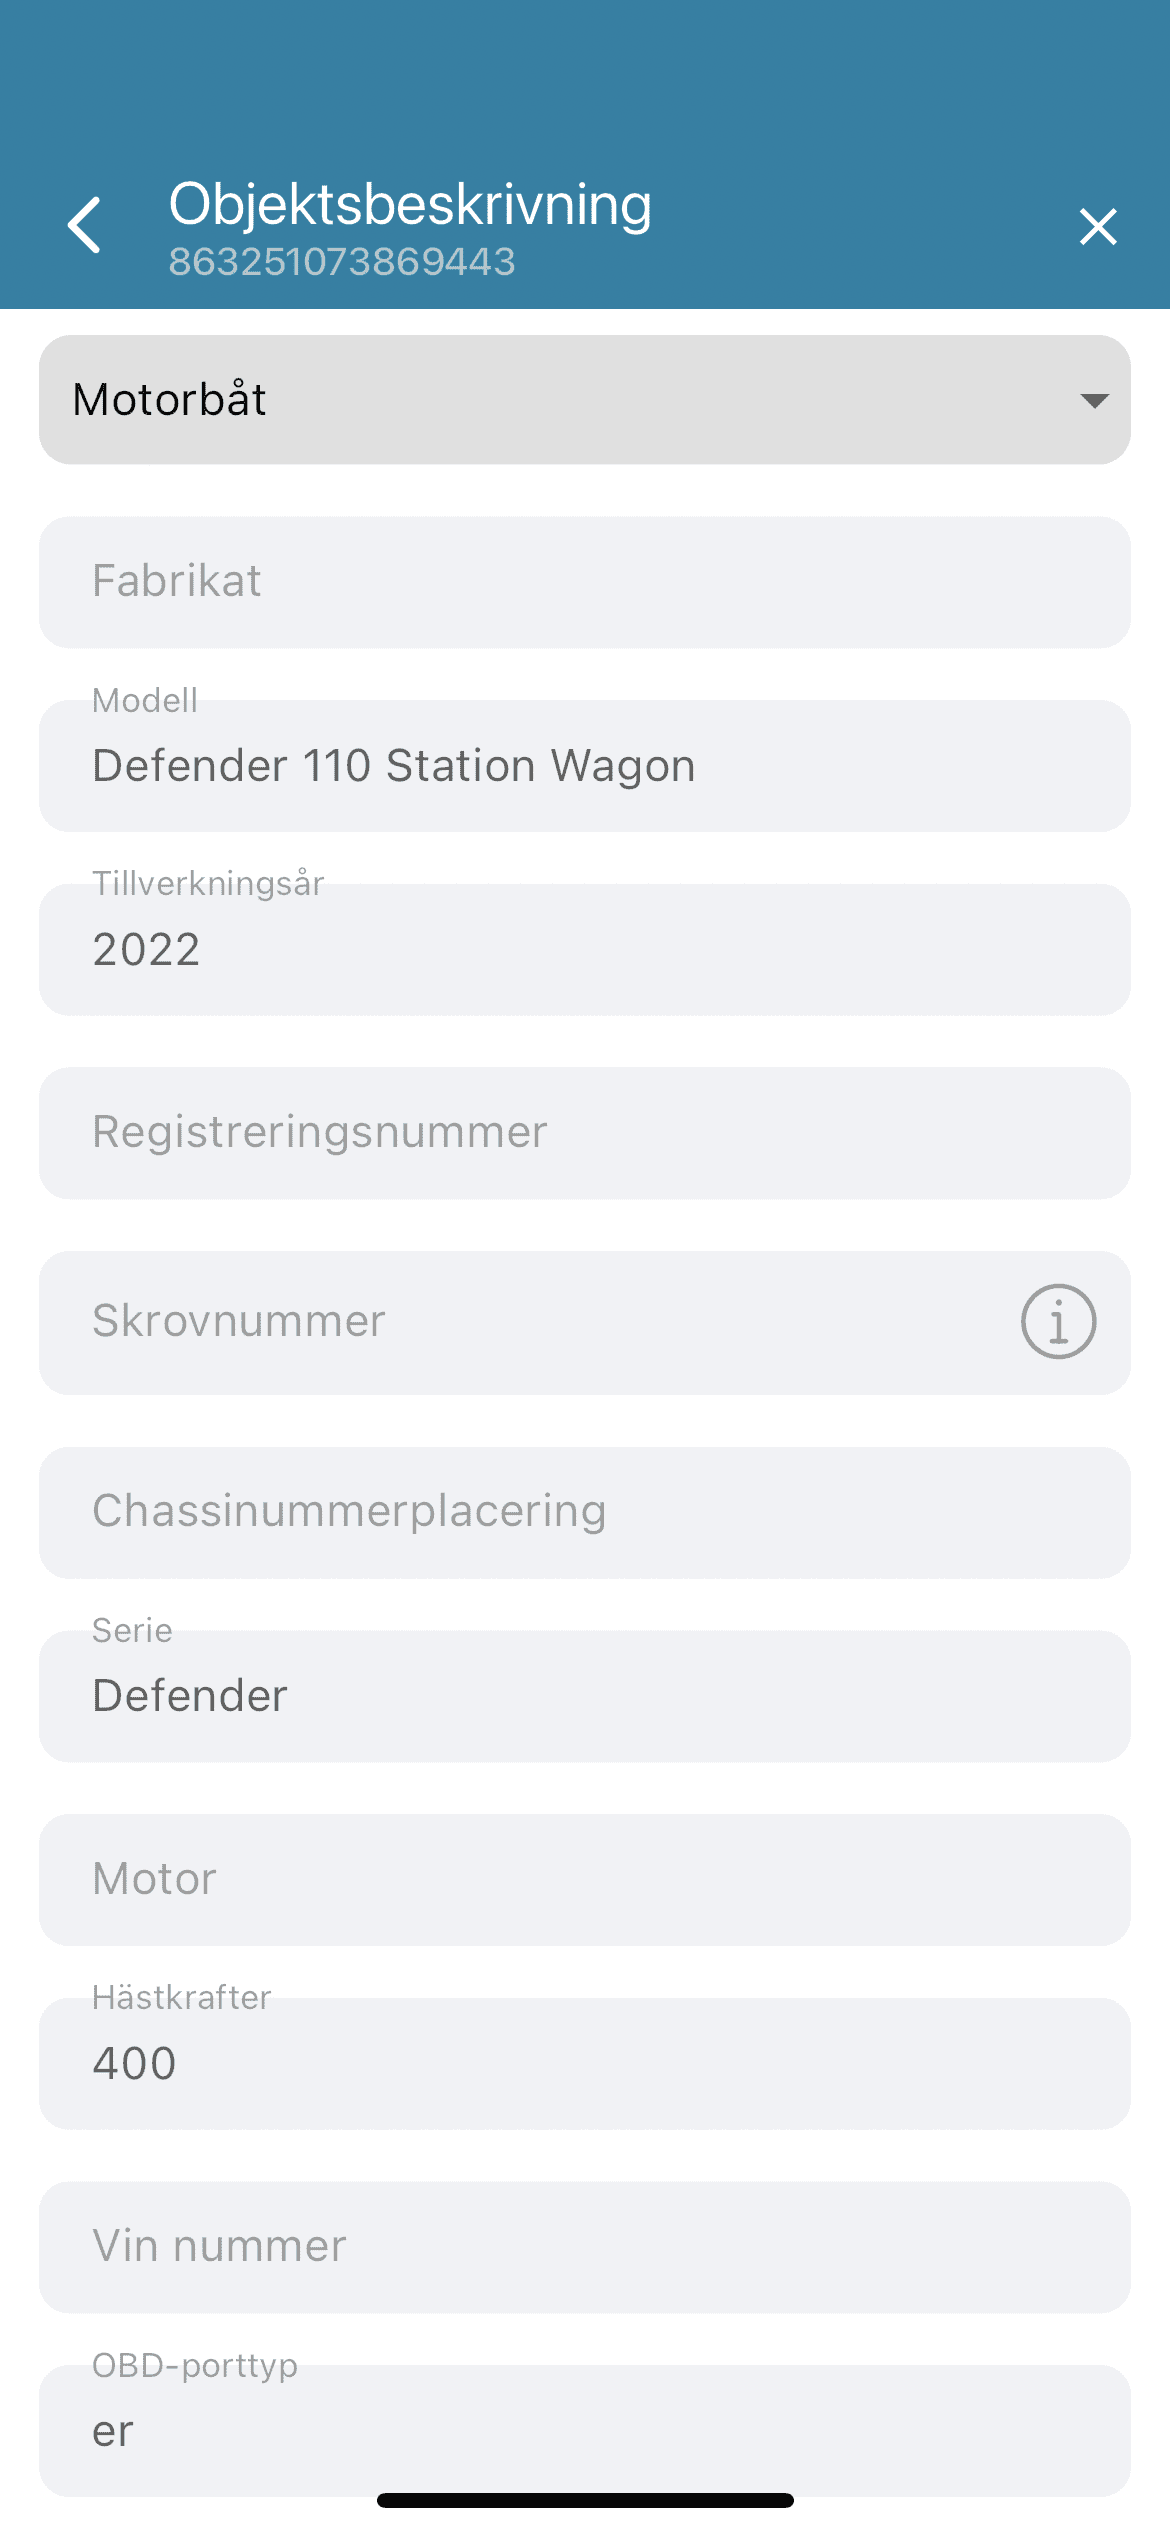
Optional 3: Object description
We recommend filling in the object description, as it helps insurance companies and the police in the event of theft.
Click Device.
Select “Object description.”
Enter the object details.
Save.
Done.
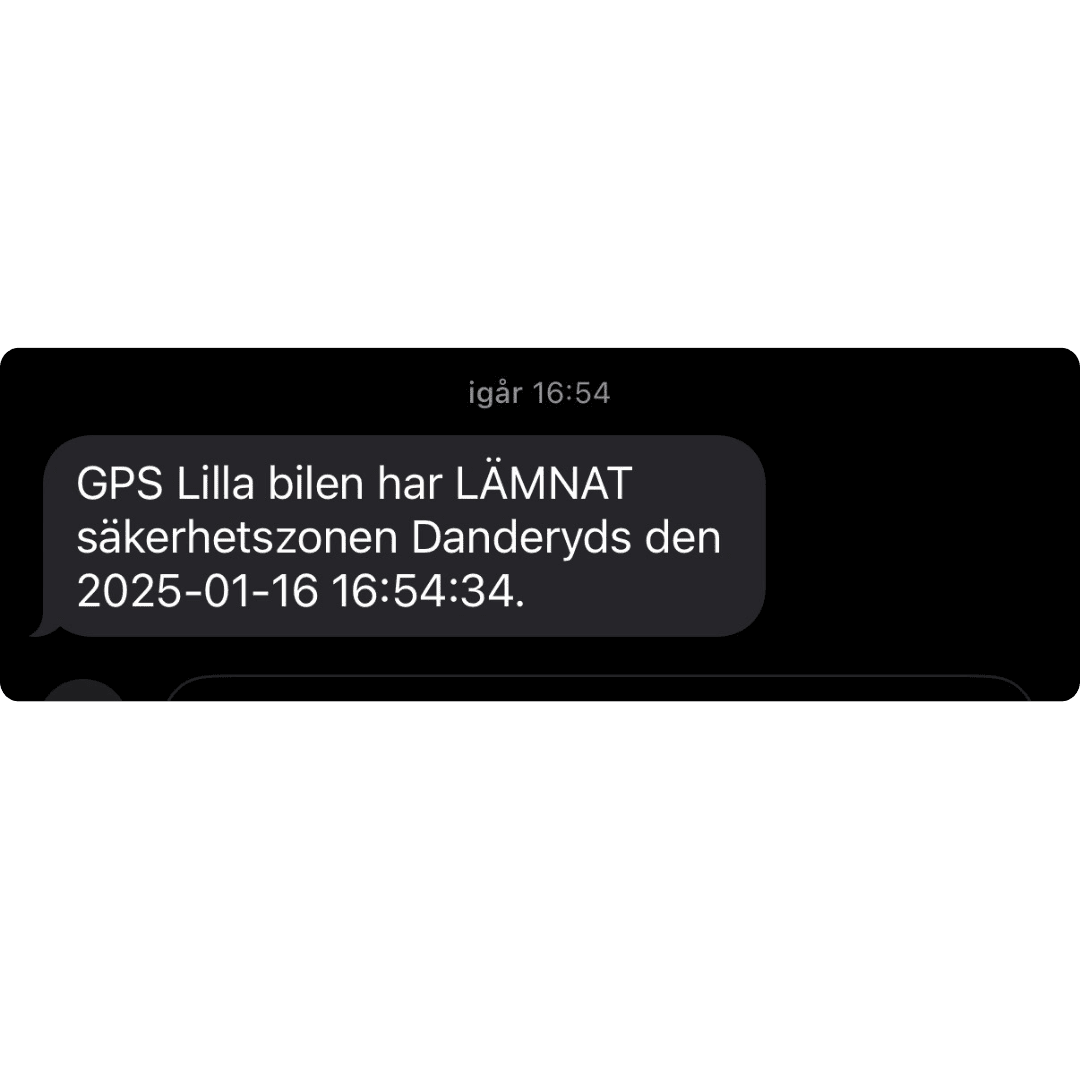
If the device triggers an alarm
If the GPS tracker leaves a security zone, an alarm can be sent via email, push notification, and SMS to the alarm recipients you have added in the system.
If you receive an alarm and need assistance, you can call our theft support, which is available 24/7 at: +46 8 25 96 99
Note: This number is only to be used in case of theft.

If you have questions, contact NorthTracker support:
Tel: +46 8 25 96 00
Email: info@northtracker.com
Genom att fylla i detta formulär godkänner du att vi hanterar dina uppgifter. Läs mer hur vi hanterar din data här: Länk till integritetspolicy
Genom att fylla i detta formulär godkänner du att vi hanterar dina uppgifter. Läs mer hur vi hanterar din data här: Länk till integritetspolicy
En remplissant ce formulaire, vous acceptez que nous traitions vos données personnelles.
En savoir plus sur la gestion de vos données : lien vers la politique de confidentialité.